Embroidery Terms You Need To Know with Hope Yoder
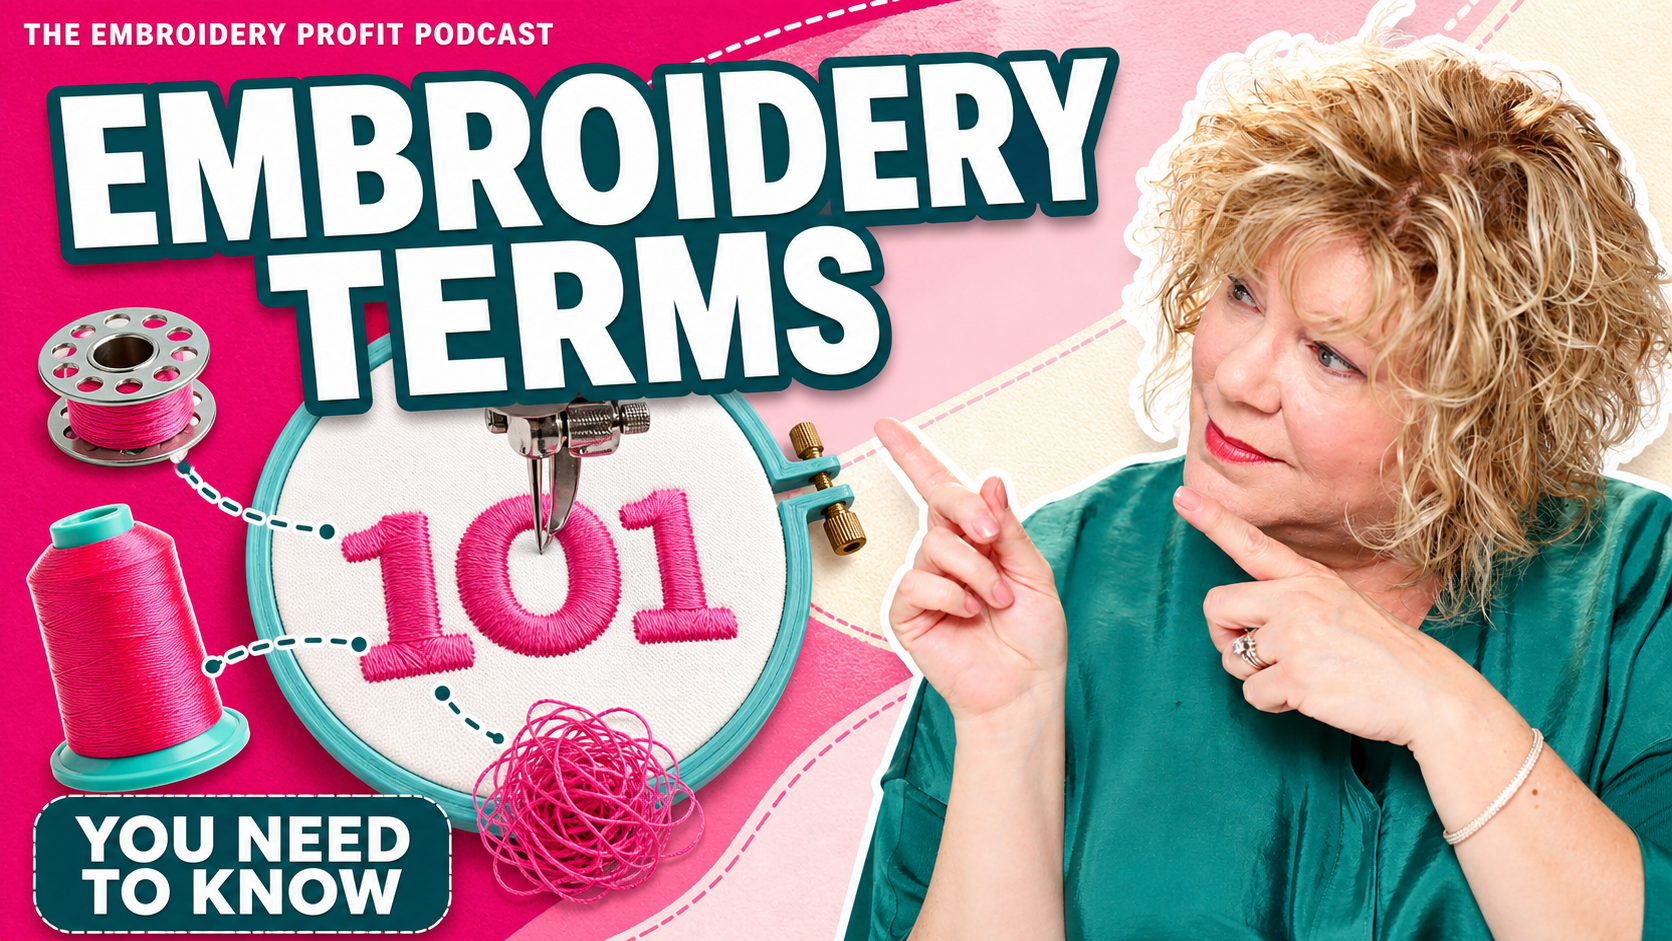
Essential Embroidery Terms You Need to Know
Don't let embroidery jargon hold your business back. Learn 20 essential terms like digitizing, tension, and stabilizers to create cleaner work with confidence.
Hi everyone, welcome back. My name's Hope Yoder, and this is the Embroidery Profit Podcast. Have you ever heard embroidery terms and you just had no idea what they meant?
Someone was talking to you and you just nodded along, and all you heard was rah-r-r. Well, today we're gonna fix that. We're gonna talk about 20 embroidery terms in plain language, no jargon, and no judgment. So save this episode. And if it helps you, it just might help a friend who has a machine.
The first term is throat plate. Well, that's the little metal plate that goes right above where the hoop goes. When you load your hoop onto the machine, there's a metal plate.
If you unscrew it, then all the magic shows up. That's the throat plate. Now you may hear the term bird's nest talking about throat plate.
A bird's nest is one of those terrible disasters that happens to us all where you get a tangled mess of thread. That gets caught underneath the hoop and jammed down into the throat plate. Go back and listen to the previous episode where we have a full fix for that.
The next term is a rotary hook. It kind of sounds like a networking event, like the rotary club. Yeah, not really.
But anyway, rotary hook is the little thing inside of the bobbin housing that spins, it catches the top thread, and it loops it around the bottom. That's where needles go to die when you break them. Again, we talked about that in the last segment.
Also, in the rotary hook, this is the place where you give it a little drop of oil or spray of oil. And then you can push the reset button on your commercial machine. The rotary hook will turn evenly distributing the bobbin.
All right, and that brings us to the bobbin. That's the little silver case that snaps in underneath the throat plate. And that's where all the magic happens.
Without a bobbin in there, you wouldn't be able to form a stitch. So the next one we're gonna talk about, the next term is tension. And tension is how tightly the top and the bobbin thread interlock.
If you have proper tension, you're gonna have clean stitches on the top and on the bottom. But if your tension is wrong, you're gonna have saggy threads, you're gonna have puckering and loops.
Now the next term is hooping, and a lot of times this seems very simple, but in the beginning, people don't understand what that means. In order to embroider, you have to have your fabric spread taut in a hoop.
Now, your machine comes with embroidery hoops. So you can use those and you're gonna place backing or stabilizer underneath a hoop and sometimes a topper on top of the hoop, and you're gonna sandwich them all together and hoop it. The goal is to have it taut, no wrinkles, no sags, just evenly taut.
Now, that's the term hooping. A term that really isn't a term, but you're gonna hear me talking about a lot is Mighty Hoop. Now, Mighty Hoop is like everybody calling a soda Coke.
When Coke really is a brand name, so is Mighty Hoop. It's made from my friends from Midwest. Now, Mighty Hoop has become a generic term as well, which is magnetic hoops.
It's easier to hoop something if you're not using the hoops that come with your machine and you're using magnetic hoops. Why I think it's better is it's always going to give you even tension.
And more importantly, something that people don't know that's a total game changer is the mighty hoop is going to allow you to position this logo in the same place, shirt after shirt. So if you're embroidering a hundred shirts, you're gonna want to make sure that each logo is in the same place, not higher and lower. And the Mighty Hooping Station is going to do that for you. So be sure to check that out. I'll leave links in the show notes.
The next term is flats. Sometimes you hear the term flats and hats. Let's just talk about the first term flat.
That's easy. That's anything that you're gonna embroider flat. So my polo, a tote bag, a jacket, probably anything except for a hat.
Now that takes us to the next term: hats. You'll hear flats and hats. Hats doesn't just mean a baseball cap.
It means anything tubular that you're going to use the hat frame or the hat jig for. So it could be a Richardson hat, it could be a trucker hat, it could be a visor, it could be one of those nice hats that you wear fishing. I want to caution you, you guys, embroider, learn to embroider flats well before you jump into hats.
All right. Next term is LC for left chest. That's what I'm wearing.
And that's one of the most commonly used phrases in the embroidery commercial apparel space. All business owners and their sales team need a left chest logo.
But one thing that I know I wondered, and so do all my students, is left chest, like when you're looking at it or when you're wearing it. So a left chest is when you're wearing it, it should be on the left side.
That's an expensive mistake you don't want to make. All right, LC equals left chest.
Full back. That's where a design is going to be maybe 9 to 12 inches wide, and it's going to be large, and you're going to embroider it on the back of something.
Now I want to caution you: the shirt I'm wearing is a Nike dry fit polo. This is not heavy enough fabric to support a full back embroidery design. Those usually are going to go on jackets, hoodies, things that are a little thicker.
All right, you guys. I don't want you to get bored here. I want you to get energized.
So if you are multitasking right now, stop, put down your phone, come back to me. Because these next few terms trip everyone up constantly. And you're gonna want to hear this: stabilizer or backing.
That's our next term. It's like tomato tomato. Good news: stabilizer and backing are the same thing.
A commercial embroiderer calls it backing. A hobbyist calls it stabilizer. What it is, is a sheet of something that's going to go underneath your fabric before you embroider it.
It's going to be hooped with your fabric. And its job is to remove the stretch and the puckering when you embroider it. But when you're done, it's going to give you that stretch and wearability back so you can wear the garment.
Now let's talk about the term topper. Topper goes on top of your fabric, and that's why it's called a topper. There's two main types.
There's a water-soluble topper, which is industry standard for commercial embroiderers. And then there's a heat-away topper.
As a commercial embroiderer, I stopped using this because it really slows down the production. But as a hobbyist, I used it all the time. There's a lot of workarounds and hacks.
When you think you need an ironaway topper, there's some hacks that you can do. And those are the things that we teach in person. The toothpick acts as a spacer.
And it creates a little space so that when you pull the thread through the button and into the shorts, there's a little space so the button will move. So when you go to button your shorts, it's not so tight that you can't move it.
Well that same concept of a spacer is what a topper is. It prevents the thread from sinking down and being pulled too tight into the fabric. It creates a little space so that your design has some dimension.
Now, still talking about topper, things that have loops or a nap like a towel or a fleece or a minky blanket. Instead of using a heat away topper like I used to, I use a technique that I create in my software called knockdown or a nap blocker. It's a very loose density fill stitch that traps the threads and the loops from permanently poking through after it's washed.
Another term is embroidery thread. I want to let you guys know that embroidery thread is not just any type of thread.
You can't use all-purpose thread or quilting thread or serger thread when you embroider. You could, but you're gonna get terrible results.
Embroidery thread is a specific type of thread that has high shine and it hopefully prevents breaking and shredding. So make sure you're using a branded embroidery thread.
And the next term is thread weight. 40 weight is the most commonly used thread weight in the industry.
We also have a 60 weight, and that's thinner and made for tiny small lettering. Here's a rule for you. The higher the number in the thread weight, the thinner the thread.
Now let's talk about thread polyester versus rayon. Polyester is preferred for commercial embroiderers. It has a higher tensile strength, it's color fast, and it's going to hold up wash after wash.
Ryan is beautiful, but it's weaker, which means you're going to get more thread breaks. And if you're using a bleach or something that brightens your colors, it could fade the color.
All right, let's move on to one of my favorite subjects and terms, digitizing or punching. Not punching in the face, but punching.
So those mean the same thing. Punching is the same thing as digitizing.
And old school digitizing, they used to have these machines that actually punched stitches. So it means the same thing. And that is the process of converting artwork, maybe a JPEG of your logo, into embroidery stitches.
You can't put a regular image into a machine and sew it out. It has to be digitized first. That brings us to our next term, manual digitizing.
This, you guys, is your BFF. If you're going to digitize yourself, don't use an auto program.
If you're going to send your design off to someone, make sure you've vetted them and they have a good reputation in the industry. And ask them, do you do manual digitizing?
So manual digitizing is what is ideal. And that brings us to our next term, auto-digitizing.
So auto-digitizing is junk. It's where the software just in one click will spit out a design, and most of the time it's junk, it's flat, it's boring.
Pros don't use it, and pros can spot auto-digitizing a mile away.
Now you may have heard the term stitch count. Stitch count is the total number of stitches in your design.
For instance, a left chest logo could have anywhere from 3,000 to 8,000 stitches. A large fullback design could have 50,000 stitches to 200,000 stitches.
The stitch count sometimes it can affect the pricing and it definitely affects the time, how long it takes to stitch. Now, since we're talking about digitizing, let's talk about color stops.
When you open any embroidery software, you're gonna see something that says color stops. And that means how many times the machine stops and grabs a different color thread. So the more color stops you have, the longer it's gonna take to embroider.
This is gonna be number 21. I didn't have this written down to share with you, but color sort is another technique inside of most basic embroidery programs.
Back to color stops. If you have 50 color stops, all right, that's gonna take a long time to embroider, but maybe you could use a function called color sorting.
You could push a button and maybe that 50 stop goes down to 20 stops. That means it's gonna change the way the machine sews it out.
Instead of stopping, it might combine a couple colors that are still gonna look good. All right, next term: trim.
This is something if you've been embroidering as a hobby, you probably haven't heard this term. Or if you did, you didn't really know what it means.
But as a commercial embroiderer, super uber important. A trim is where the machine has a command to tie it off in a knot and slice and dice the thread. So it's going to cut the thread before it moves on to the next portion of the design.
Somewhere where I ask my digitizer to make a trim command is between small tiny letters or elements. I want the machine to tie off the thread in a knot so it won't unravel, cut it, which means trim, and then go on to the next section.
That leaves us to our next term. White men can jump. Okay, nope. I just said that so you'd come back to me.
Jump stitch. A jump stitch is the opposite of a trim. It's where your machine just keeps on stitching, but it might hop from point A to B without trimming the thread.
That means you're going to see a long, loose thread on the top that you then have to go into with scissors and trim it. Lots of jump stitches means you probably didn't ask the digitizer to tie it off, or it could just be a digitizer that isn't the best.
Let's move on to stitch types. You're gonna hear some different terms like run stitch.
Run stitch is like sewing on a sewing machine, it goes back and forth, back and forth, and it's usually used in underlay or outlines. Then you have another type of stitch called a satin stitch, and that's where it hops from left to right to left to right, and it stitches a column of stitches.
This is one of my favorite types of stitches. It's smooth, it's shiny. Sometimes it's between two and seven millimeters.
A lot of times it's used in lettering and borders. And then you have a steel, S T E I L steel stitch.
Basically that's the same thing as a satin stitch, but it's narrow. So it might be one and a half to two millimeters. This is perfect for outlines and fine details.
Now, one of the most commonly used stitches is called fill stitch, F-I-L-L. And this is where you're gonna fill in a large area with thread.
Sometimes you can have some movement with that with different patterns and different stamps. So if your density in the fill stitch is too light, you're gonna see the fabric underneath.
If it's too thick or too dense, it's gonna be like an army patch. Now that brings us to our next term: density.
That is how many stitches are in every square inch. So a light density is open and airy. That's what you might want on a polo.
Or a medium density is a mix of light and full coverage. And then you have super dense or just dense, which is solid full coverage like the fill stitches.
Now that brings us to the very last stitch type I want to talk about. You may hear the term underlay.
I always think of the cartoon when I was a kid. Underlay, underlay, underlay. All right, that's not really what they said, but that might help you remember.
Underlay are the hidden stitches that are laid down before the pretty stitches stitch on top. So think about construction. Rebar goes inside of concrete.
They're gonna lay the rebar first before they pour the concrete, the finished concrete. Underlay are the stitches that are like rebar. So it's gonna give your design support and it's gonna help the top stitches lay a little bit better.
It's the hidden hero that nobody sees, but underlay usually makes everything look better.
One of the things we do a lot in our studio is I make patches. So let's talk about terms when you're talking about patches.
First is a woven patch. This is where you're going to embroider your logo or your design on top of a twill fabric foundation.
So you're gonna lay down twill fabric, you're gonna trim it, you're gonna stitch your pretty design, and then you're going to fuse it or sew it onto a garment. That's a woven patch.
Then you have a freestanding patch. And most people get tripped up with this.
A freestanding patch means there is no fabric underneath there at all. You're gonna be embroidering on stabilizer directly, and you're gonna have enough stitches so that there's no holes and nothing.
You can't see air through it. The freestanding patch is digitized so each stitch interlocks. And your design has to be digitized so that it will work with freestanding and it interlocks.
Freestanding lace would be another example. Now, a third type of material or technique that you might hear is the word applique.
Applique is very similar to a patch. It's where you're gonna fill in those large areas of spaces with fabric instead of thread.
And the reason for this, sometimes it's just the aesthetics, the look, but sometimes it's because your fabric can't support heavy weight of a thousand million stitches of thread. And so by using applique fabric instead of thread, you're gonna get a lower stitch count.
It's gonna stitch faster, and it's probably gonna lay nicer. Now, applique, you might think of sports jerseys where you have those big numbers on them. Those are generally applique designs.
In conclusion, I hope that I've mentioned some terms that you didn't know what they meant and now you do. Hey, you can screenshot some of the show notes, send them to a friend who just got their first embroidery machine, or better yet, share the podcast with them.
Now go and use these terms with confidence. I'm Hope Yoder. This is the Embroidery Profit Podcast, and I'll see you here next time.
Episode 19: Contract Embroidery Exposed — with Joe Perez